I didn’t plan to make this meal, and honestly, it came together out of one of those “use what’s in the fridge” moments we all have. It was a long day, I didn’t want anything complicated, and takeout felt like the easy option—but also a little too predictable. Sitting there were some chicken pieces, a container of leftover rice, and a tub of miso I had bought for a completely different recipe weeks ago.
At first, it didn’t seem like much. But once I started cooking, something shifted. The smell of garlic hitting warm oil, the rich aroma of miso blending into the pan—it started to feel like a real meal, not just a quick fix. This recipe exists because of that moment. It’s simple, deeply satisfying, and the kind of dish you make once… then find yourself craving again and again.
WHY THIS RECIPE WORKS
This recipe works because it leans into balance without overcomplicating anything. Miso brings a deep, savory umami flavor that instantly makes the dish feel richer and more complete. It’s salty, slightly sweet, and complex in a way that transforms basic ingredients into something special without requiring extra effort.
The chicken absorbs all that flavor while staying tender, especially if you use thighs. The rice acts as a neutral base, soaking up the sauce and mellowing the intensity so every bite feels balanced instead of overwhelming. It’s the kind of combination that feels comforting but still interesting enough to keep your attention.
Another reason this works so well is how flexible it is. You can adjust sweetness, saltiness, or spice depending on what you like. It’s forgiving, quick, and built for real kitchens—not perfect ones. That’s what makes it reliable.
INGREDIENTS (SMART + FLEXIBLE)
Chicken thighs or breasts
Chicken thighs are usually my first choice because they stay juicy and are harder to overcook. But if you only have chicken breasts, they work perfectly fine—you just need to keep an eye on them so they don’t dry out.
White or brown rice
Fresh rice is great, but day-old rice is even better because it holds its texture. Brown rice adds a slightly nutty flavor, while white rice keeps things soft and classic.
Miso paste (white or yellow)
White miso is mild and slightly sweet, making it perfect if you’re new to miso. Yellow miso has a deeper, saltier flavor if you want something more pronounced.
Soy sauce
Adds an extra layer of savory depth. If you’re watching sodium, you can easily swap for a low-sodium version.
Honey or maple syrup
This small touch of sweetness balances the saltiness of the miso and soy. It doesn’t make the dish sweet—it just rounds everything out.
Garlic
Fresh garlic gives the best aroma and flavor. It’s one of those small details that makes a big difference.
Ginger (optional)
It adds warmth and a subtle brightness. You can skip it, but if you have it, it elevates the dish.
Oil
A neutral oil works best, but a little sesame oil at the end adds a beautiful finish.
Green onions
These add freshness and a mild crunch at the end, balancing the richness.
Optional vegetables
Broccoli, snap peas, carrots—this is your chance to use whatever you have.
HOW TO MAKE IT (STEP-BY-STEP WITH STORY FLOW)
Step 1: Start the rice

The first thing I always do is get the rice going, because it quietly does its thing while you focus on everything else. There’s something comforting about hearing that gentle simmer or the soft click of a rice cooker starting up. I usually rinse the rice until the water runs mostly clear—it’s a small step, but it makes the grains fluffier and less sticky in the end.
Once it’s cooking, you can almost forget about it, and that’s part of the beauty of this recipe. By the time everything else is ready, the rice will be warm, soft, and perfectly timed to soak up all that miso glaze later.
Step 2: Make the miso sauce
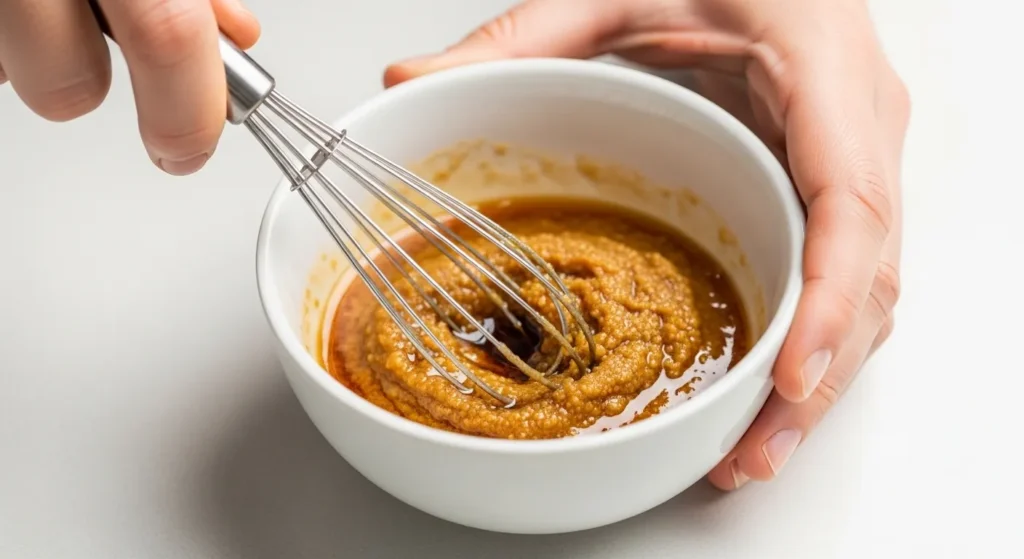
In a small bowl, I mix the miso paste with soy sauce, honey, garlic, and a splash of water. At first, it looks a little thick and uneven, but as you whisk it, it turns into this smooth, glossy sauce that already smells incredible.
This step is where the magic really starts. You’ll notice the balance right away—the saltiness from the miso, the sweetness from the honey, and that deep savory note from the soy. I always taste it at this stage, just to make sure it feels right. It should be bold, but not overwhelming.
Step 3: Prep the chicken
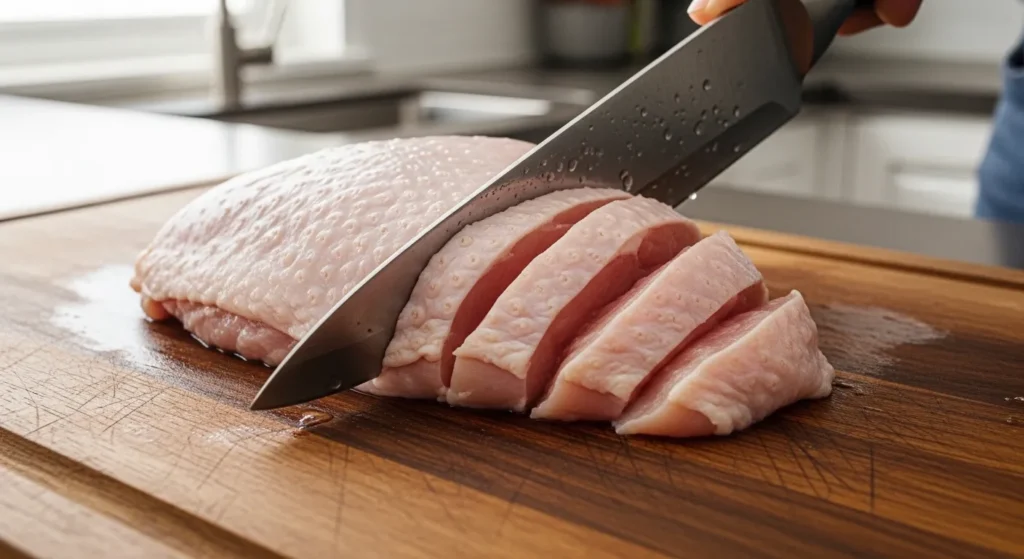
Cutting the chicken into bite-sized pieces might seem like a basic step, but it makes a big difference. Smaller pieces cook faster, more evenly, and every piece gets coated in that sauce later. I don’t worry about making them perfect—just roughly even so nothing cooks too quickly or too slowly.
As you’re cutting, you’ll start to think about how this dish comes together. It’s simple, but intentional. Each piece of chicken is going to carry flavor, so this step sets the stage for everything that follows.
Step 4: Cook the chicken
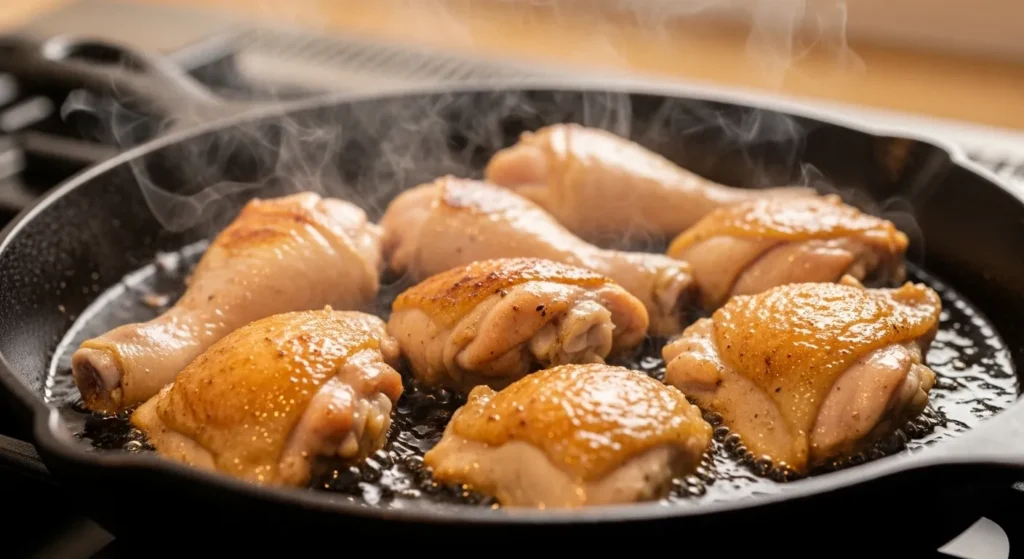
Heat some oil in a pan and add the chicken in a single layer. The key here is patience. Let it sit for a moment before stirring so it develops that golden edge. That slight browning adds flavor you can’t get any other way.
As it cooks, you’ll hear that gentle sizzling sound, and the kitchen starts to smell like something real is happening. Turn the pieces occasionally, but don’t rush it. You’re building flavor here, not just cooking chicken.
Step 5: Add the sauce
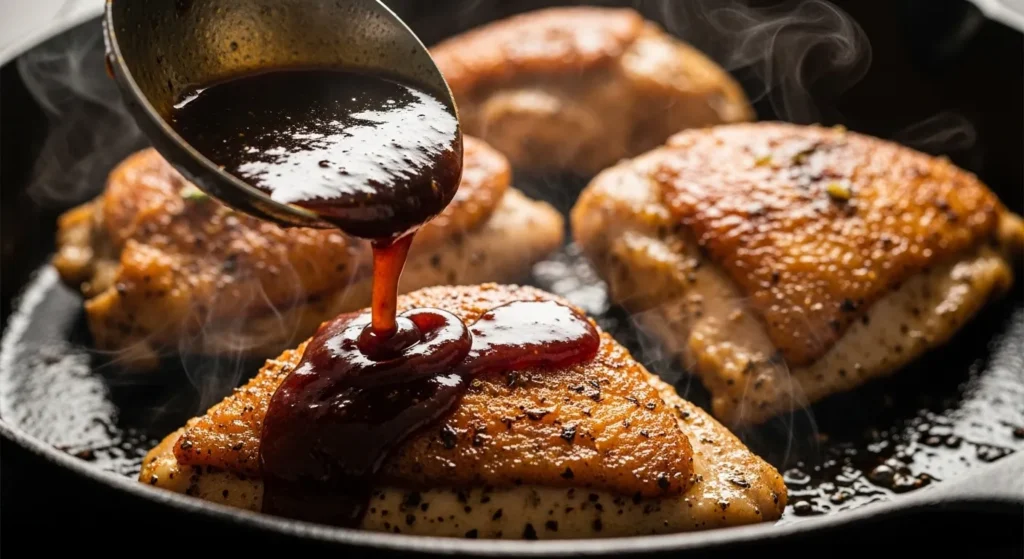
Once the chicken is mostly cooked, pour in the miso sauce. It hits the pan and immediately starts bubbling, thickening, and coating everything. This is the moment where everything transforms.
The smell deepens, becoming richer and slightly sweet. Stir gently so every piece gets covered. It’s quick, but it feels like the turning point of the dish—the moment it all comes together.
Step 6: Let it glaze

Now you just let it cook for a few minutes while the sauce reduces. It thickens into this shiny, slightly sticky glaze that clings to the chicken beautifully. This is where patience pays off again.
You’ll notice the sauce changing texture, becoming richer and more concentrated. The chicken looks glossy, almost caramelized in spots. That’s exactly what you want—it means the flavor has deepened.
Step 7: Add vegetables (optional)
If you’re adding vegetables, this is the moment. Toss them in and stir gently so they pick up some of that sauce. I like them slightly crisp, so they add contrast to the soft rice and tender chicken.
It’s also a great way to make the dish feel more complete without extra effort. The colors alone make it look more inviting, and the texture adds another layer to each bite.
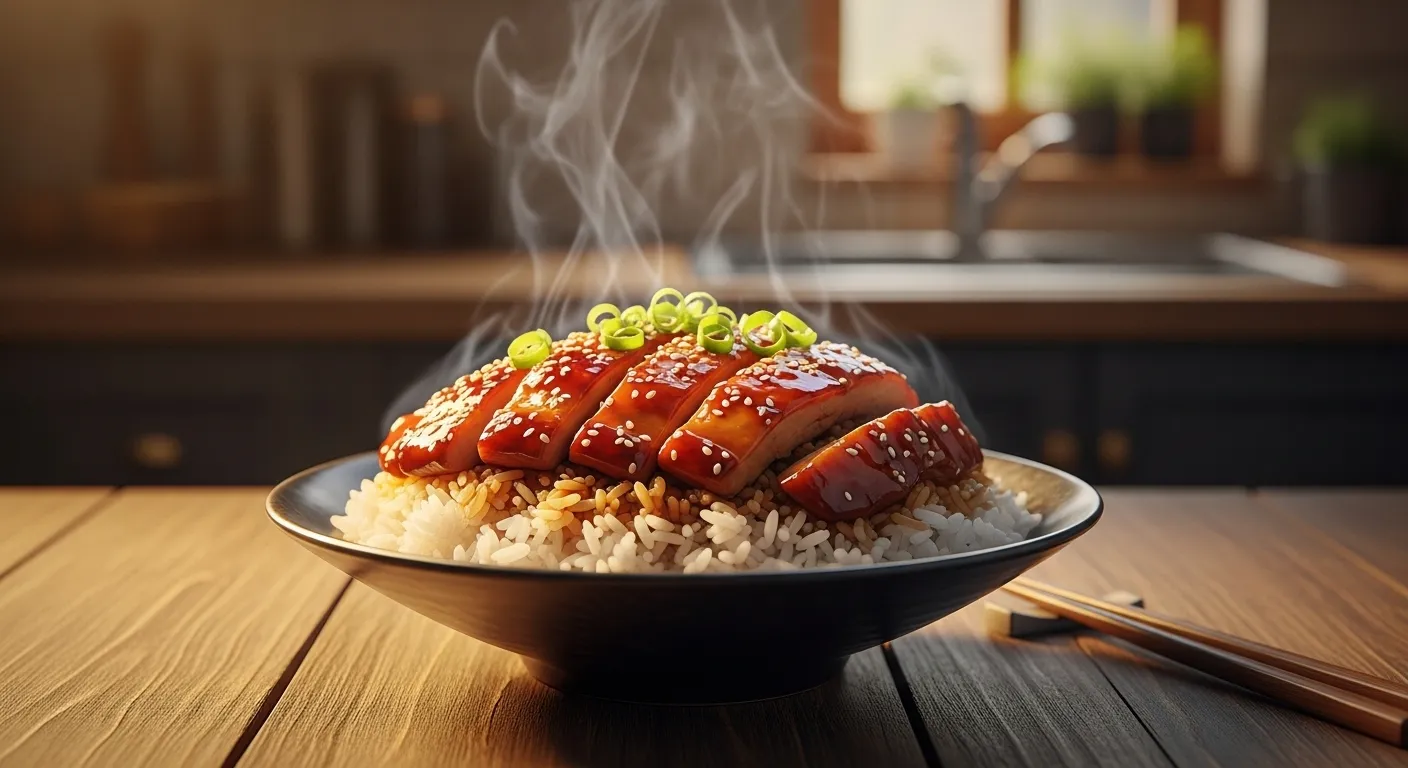
Step 8: Assemble the bowl

Spoon the rice into a bowl first, then add the chicken on top. Let some of that extra sauce drip down into the rice—it’s honestly the best part of the whole dish.
There’s something satisfying about this step. It’s simple, but it feels like you’ve created something real. The layers, the colors, the aroma—it all comes together in a way that feels complete.
Step 9: Finish and serve
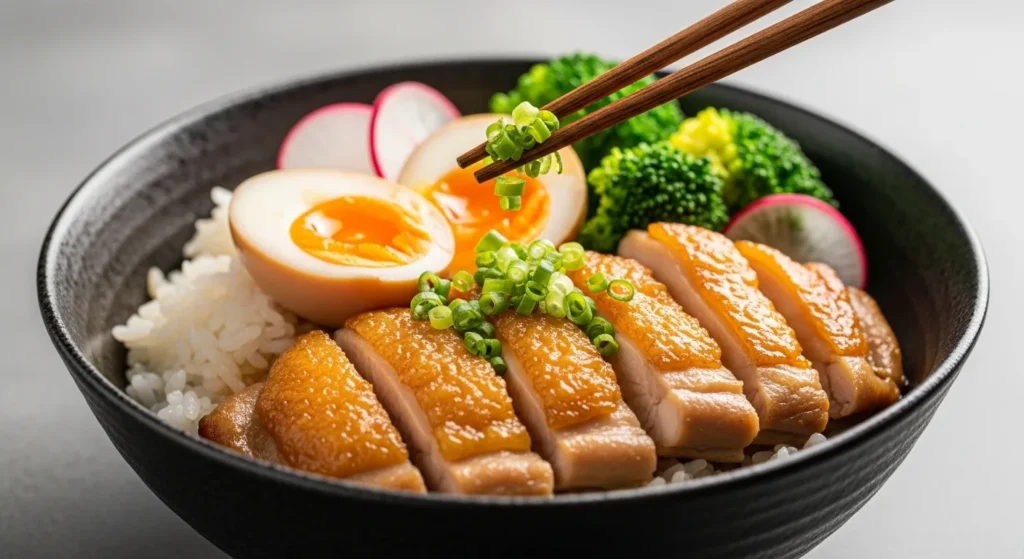
Sprinkle green onions on top and serve right away. The freshness cuts through the richness, and everything smells warm, savory, and just slightly sweet.
This is the moment you’ve been building toward. Take a bite, and you’ll understand why this simple dish ends up becoming a regular in your kitchen.
TWO COOKING METHODS (SMITTEN STYLE TOUCH)
Rice cooker method
If you have a rice cooker, this is the easiest way to guarantee consistent results. You add the rice and water, press a button, and let it handle everything. It’s especially helpful on busy days when you don’t want to think about timing or ratios. The rice comes out evenly cooked, soft but not mushy, and ready exactly when you need it.
Stovetop method
Cooking rice on the stovetop feels a little more hands-on, but it’s just as reliable once you get the rhythm. Bring it to a boil, reduce the heat, and let it gently simmer with the lid on. The key is resisting the urge to open the lid too often. Let it steam properly, and you’ll get light, fluffy rice every time.
FINAL RESULT (SENSORY DESCRIPTION)
The first thing you notice is the aroma—warm, savory, slightly sweet, and deeply comforting. The chicken is tender and coated in a glossy glaze that clings to every piece, giving each bite a rich, satisfying flavor.
The rice is soft and neutral, soaking up the sauce and balancing everything out. Together, it’s a mix of textures and flavors that feels complete. It’s simple food, but it hits in a way that feels thoughtful and satisfying.
COMMON MISTAKES (REAL HUMAN PROBLEMS)
Overcooking the chicken
It can turn dry quickly, especially with breast meat. Cook just until done, then let the sauce finish it.
Too salty
Miso and soy can be strong together. If it tastes too intense, add a splash of water or a bit more honey to balance it.
Not mixing the sauce properly
If the miso isn’t smooth, it won’t coat the chicken evenly. Take a minute to whisk it well.
Overcooking the rice
Too much water or too much heat can make it mushy. Stick to proper ratios and timing.
PRO TIPS (HOME COOK INSIDER)
Let the chicken sit in the sauce for a few minutes before cooking if you have time—it deepens the flavor.
Add a squeeze of lime at the end for brightness.
Finish with a drizzle of sesame oil for a subtle nutty aroma.
Serve with a soft egg on top if you want to elevate it further.
STORAGE & LEFTOVERS
Store leftovers in an airtight container in the fridge for up to three days. The flavors actually deepen overnight, making it even better the next day.
When reheating, add a splash of water to loosen the sauce and warm it gently. This helps bring everything back to life without drying it out.
FAQs
Can I use tofu instead of chicken?
Yes, firm tofu works well. Just crisp it first before adding the sauce.
Is miso very salty?
It can be, but it balances out when combined with other ingredients.
Can I freeze this dish?
You can freeze the chicken, but fresh rice is better made separately.
What vegetables work best?
Broccoli, snap peas, and carrots are all great options.